

Hey there! As a supplier of Shell And Heat Exchangers, I've seen my fair share of issues with these nifty devices. Heat exchangers are crucial in a ton of industries, from chemical processing to HVAC. They transfer heat between two or more fluids, but like any piece of equipment, they can run into problems. In this blog, I'll walk you through how to troubleshoot a Shell And Heat Exchanger.
1. Understanding the Basics
Before you start troubleshooting, it's super important to have a solid grasp of how a Shell And Heat Exchanger works. In simple terms, it has a shell (the outer part) and tubes inside. One fluid flows through the tubes, and the other flows through the shell. Heat is transferred between the two fluids as they pass each other.
2. Common Problems and How to Spot Them
Leakage
Leakage is a pretty common issue. You might notice it as a puddle under the heat exchanger or a drop in the fluid levels. To find the source of the leak, you can do a visual inspection. Check the tube sheets, gaskets, and connections. If there's corrosion or damage to these parts, that could be the culprit.
Fouling
Fouling happens when dirt, debris, or scale builds up on the heat transfer surfaces. This can reduce the efficiency of the heat exchanger. Signs of fouling include a decrease in the heat transfer rate, an increase in pressure drop, or a change in the temperature of the outlet fluids. To check for fouling, you can look at the pressure gauges and temperature sensors. If the pressure drop has increased significantly or the temperature difference between the inlet and outlet fluids has decreased, fouling might be the problem.
Vibration
Excessive vibration can cause damage to the heat exchanger over time. It can lead to tube failures, loose connections, and even structural damage. You can feel the vibration by placing your hand on the heat exchanger or use a vibration sensor. If you notice abnormal vibrations, it could be due to uneven flow distribution, loose parts, or external factors like nearby machinery.
3. Troubleshooting Steps
Step 1: Check the Fluid Flow
The first thing you should do when troubleshooting is to make sure the fluids are flowing properly. Check the valves to ensure they are fully open and not blocked. You can also look at the flow meters to see if the flow rates are within the normal range. If the flow rate is too low, it could cause issues like fouling or insufficient heat transfer. If it's too high, it could lead to vibration and increased pressure drop.
Step 2: Inspect the Gaskets and Seals
Gaskets and seals play a vital role in preventing leakage. Over time, they can wear out, become damaged, or lose their elasticity. Check the gaskets for any signs of cracking, tearing, or compression. If you find any issues, replace the gaskets with new ones that are the right size and material for your heat exchanger.
Step 3: Examine the Tubes
The tubes are where most of the heat transfer occurs, so it's important to check them regularly. Look for signs of corrosion, erosion, or tube failures. You can use non - destructive testing methods like ultrasonic testing or eddy - current testing to detect any internal defects in the tubes. If you find a damaged tube, you can either repair it or plug it, depending on the severity of the damage.
Step 4: Clean the Heat Exchanger
If fouling is the problem, you'll need to clean the heat exchanger. There are different cleaning methods available, such as chemical cleaning, mechanical cleaning, or a combination of both. Chemical cleaning involves using cleaning agents to dissolve the scale and debris. Mechanical cleaning can be done using brushes, scrapers, or high - pressure water jets. Make sure to follow the manufacturer's instructions when cleaning the heat exchanger to avoid damaging it.
Step 5: Balance the Flow
Uneven flow distribution can cause problems like vibration and reduced heat transfer efficiency. You can use flow control valves to balance the flow of the fluids. Adjust the valves until the flow rates are uniform across all the tubes or channels in the heat exchanger.
4. Special Considerations for Different Types of Heat Exchangers
Pillow Plate Heat Exchanger
Pillow Plate Heat Exchangers are known for their compact design and high heat transfer efficiency. When troubleshooting a Pillow Plate Heat Exchanger, pay special attention to the welds. If there are any leaks, it could be due to a faulty weld. Also, check the plates for any signs of deformation, as this can affect the flow of the fluids.
Marine Heat Exchanger
Marine Heat Exchangers are used in ships and other marine applications. They are exposed to harsh environments, such as saltwater, which can cause corrosion. When troubleshooting a Marine Heat Exchanger, look for signs of corrosion on the tubes and the shell. You may need to use anti - corrosion coatings or materials to prevent further damage.
Stainless Steel Brazed Plate Heat Exchanger
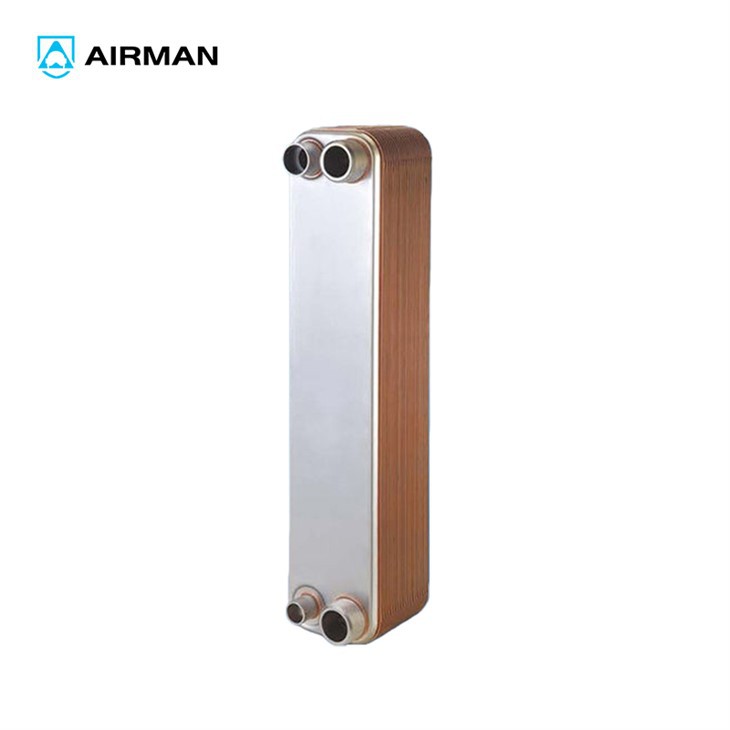
Stainless Steel Brazed Plate Heat Exchangers are popular for their durability and efficiency. However, they can be prone to clogging if the fluids are not properly filtered. When troubleshooting a Stainless Steel Brazed Plate Heat Exchanger, check the filters and clean or replace them if necessary. Also, inspect the brazed joints for any signs of failure.
5. Preventive Maintenance
The best way to avoid troubleshooting is to have a good preventive maintenance plan. This includes regular inspections, cleaning, and replacement of worn - out parts. You should also monitor the performance of the heat exchanger using sensors and data logging systems. By keeping an eye on the key parameters like temperature, pressure, and flow rate, you can detect any potential problems early and take corrective actions before they turn into major issues.
6. When to Call in the Experts
Sometimes, troubleshooting can be a bit tricky, and you might need professional help. If you've tried all the troubleshooting steps and still can't solve the problem, or if you're dealing with a complex issue like a major tube failure or a structural problem, it's a good idea to call in a specialist. They have the expertise and the tools to diagnose and fix the problem quickly and efficiently.
Conclusion
Troubleshooting a Shell And Heat Exchanger can seem daunting, but with the right knowledge and approach, you can identify and fix most of the common problems. Remember to start with the basics, check the fluid flow, inspect the gaskets and tubes, and clean the heat exchanger regularly. And if you're in the market for a new heat exchanger or need help with maintenance, don't hesitate to reach out. We're here to help you keep your heat exchanger running smoothly and efficiently.

If you're interested in purchasing a Shell And Heat Exchanger or have any questions about our products, feel free to contact us for a detailed discussion. We'll be more than happy to assist you in finding the right solution for your needs.
References
- Incropera, F. P., & DeWitt, D. P. (2001). Fundamentals of Heat and Mass Transfer. Wiley.
- Shah, R. K., & Sekulic, D. P. (2003). Fundamentals of Heat Exchanger Design. Wiley.